Log in to your tenant using your administrator credentials.
After successfully logging in, you will be redirected to your tenant landing page.
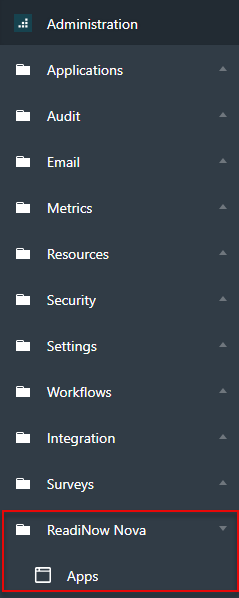
Go to Administration

In the left menu, click on ReadiNow Nova and then click on Apps
An Apps page will appear. In the upper right side of the screen, click on the Create new button to start the creation process.
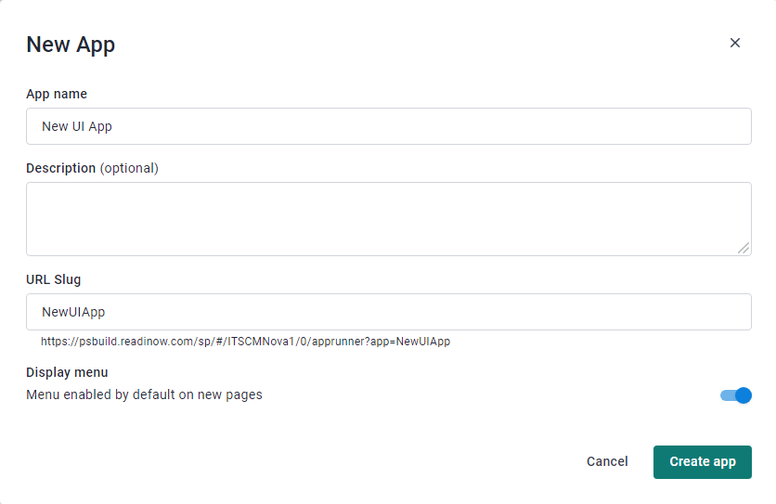
In the New App pop-up screen, complete the following information:
App Name - this is the unique identifier assigned to the application.
Description - the concise and informative piece of text that introduces and highlights the key features, and functionalities of the application.
URL Slug - the part of a URL that identifies a particular application. It is the segment of the URL that comes after the domain name and any subdirectories.
Display menu - if enabled, this will add the top menu to all new pages in the app by default.
Click the Create App button.
This will open the Nova Page Builder where you can create and design your page using different components and settings.


Parts of the Page Builder:
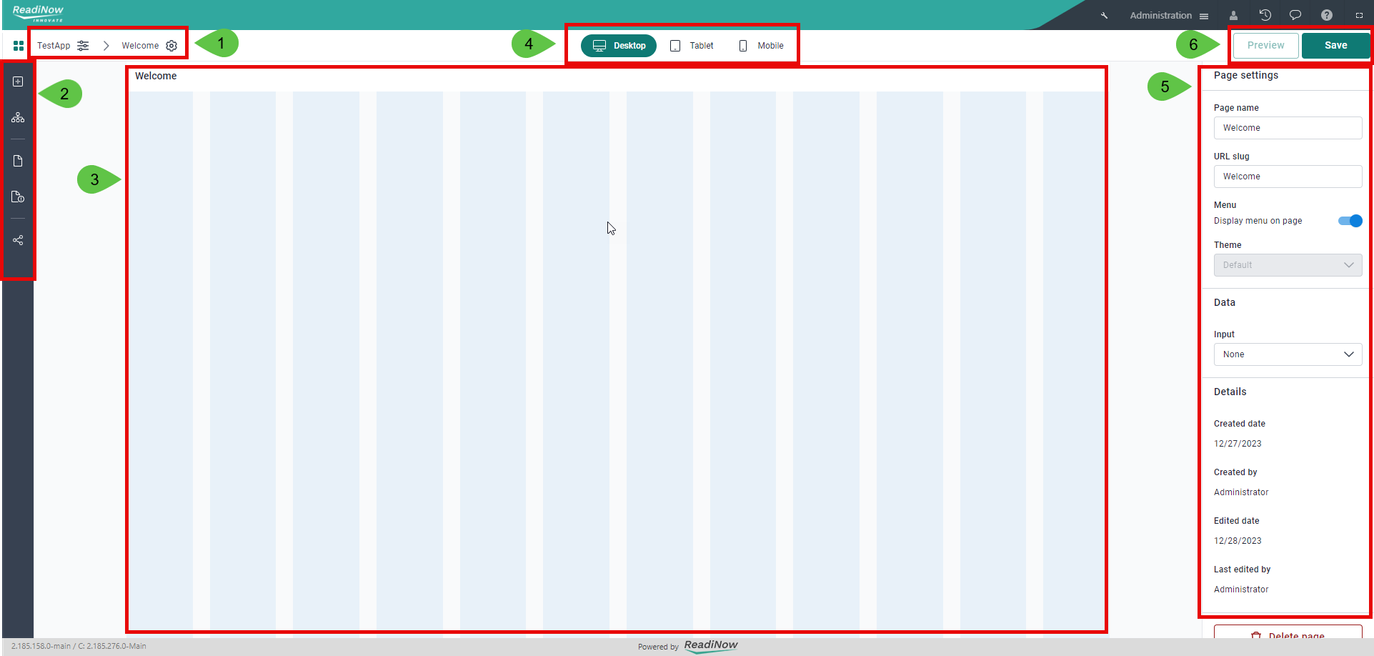
Application properties - used to access application properties.
Tools Section - used to access all available tools to create a Nova application.
Builder canvas - the workspace where you can visually structure the layout of your application.
View mode - used to switch between Desktop view, Tablet view, or Mobile view.
Settings section - shows all available properties or settings of the selected element.
Preview and Save - click the Preview button to preview the current state of the canvas. Click the Save button to save current changes.